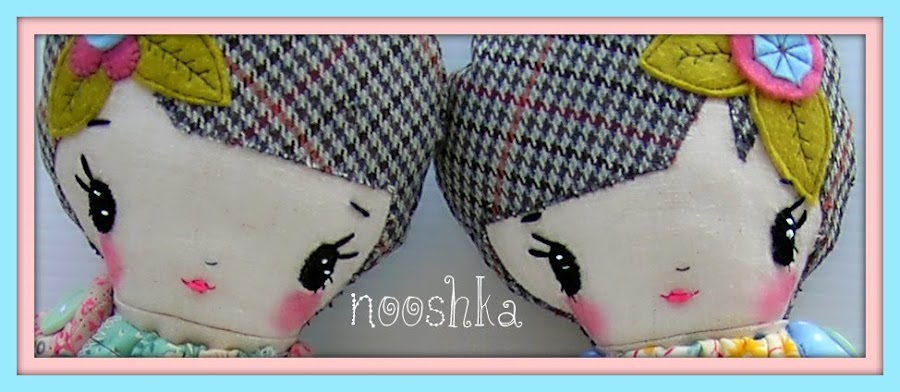
 This is a little sneak peak into the makings of one of my kitty's.The pictures aren't great but I plan on adding tutorials later on for techniques like applique,making cushions with zippers and lots of hints and tips.
I decided to do a kitty today and the first thing I thought about was what colors and materials I wanted to use.I often use florals and almost always a stripe or polka dot.I look for a common elements in the colors so that it all ties together.I also like to use lace and ribbon,tulle or felt to bring in some interesting texture.I start by marking my patte
 rn on to the body,I use a water soluble pen so that the marks can be erased later.I then sew along the lines I have drawn and then cut around them after wards.Th
 is is alot easier than cutting them out first.Once the limbs are stuffed I then sew them into the body using a triple straight stitch for added strength.Make sure you have a zipper foot on so you can get nice and close to the edge and don't forget to move your needle across, just change your width to move your needle position.Now I stuff the body and then hand stitch the opening.The trick to getting a smooth finish is only stuffing small amounts in at a time,about the size of a cotton ball.Now comes the bit I love.I do the face first,I draw it on first with the water erasable pen so if I make a mistake I can start again.Once I'm happy I can make it permanent.I use a fabric medium then I apply the pencil on top.They have to be a special pencil.The ones I use are called Derwent inktense pencils and these are permanent.Then its time to get dressed and to embellish!


No comments:
Post a Comment